When using Bleppy you’ll have at least two ways of creating a shelter/rescue profile.
The first and best way to do so is the way I will show you in this tutorial.
The second way is on the fly, when you’re creating a pet profile.
In any case, you must be the shelter/rescue legal representative to create its profile, as you will receive donations on its behalf.
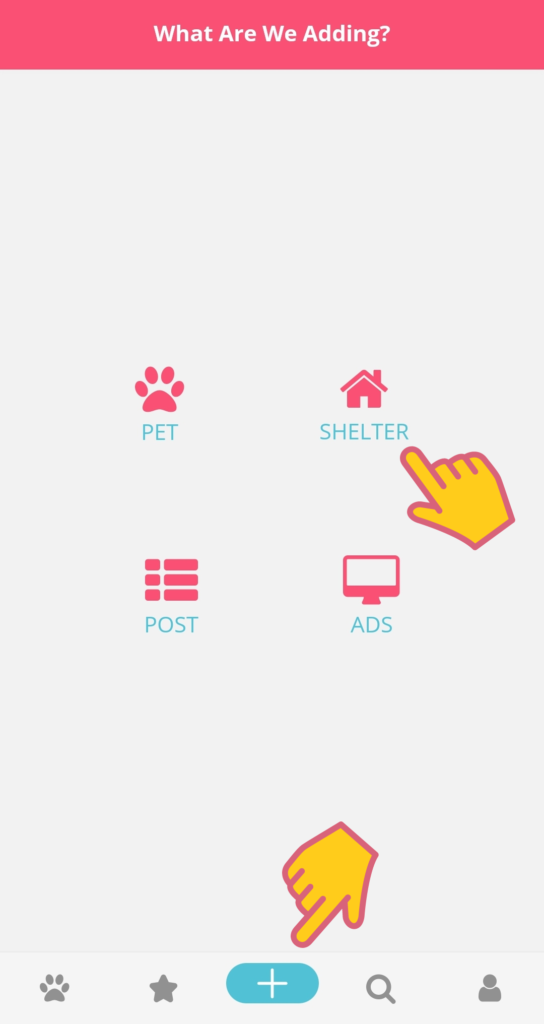
1. Click on the plus button and then on the shelter button:
If you’re not logged in, you’ll be prompted to do so before you see the shelter button.
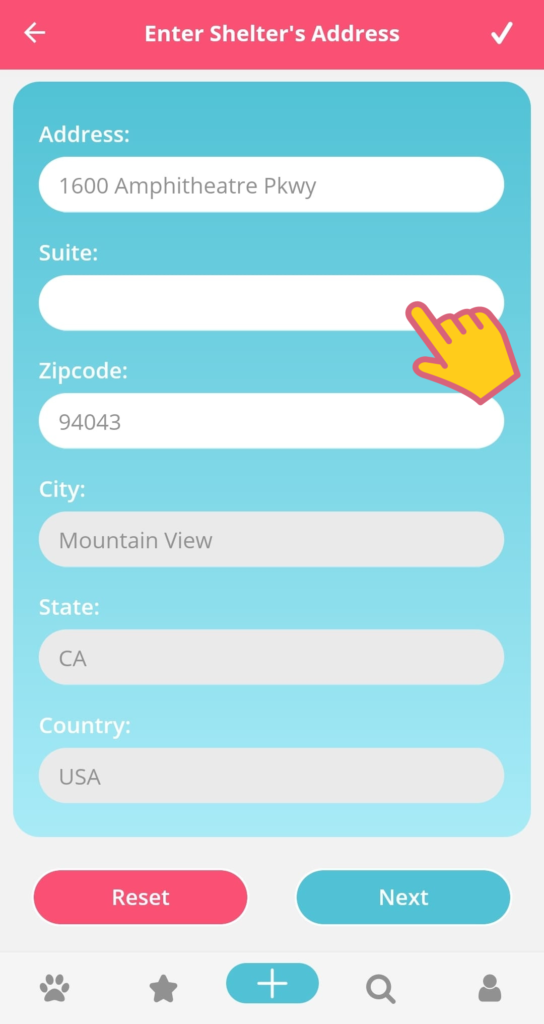
2. Enter the shelter/rescue address:
You can choose between an address that you have used before, type a new address or use your current location.
When using “current donation”, it means that the app will get your location at this moment on time. It WILL NOT keep tracking you.
Also, it’s important to know that the shelter/rescue address will be public to other users.

3. Complete address, when needed:
After that, click on next or on the checkmark on the top.
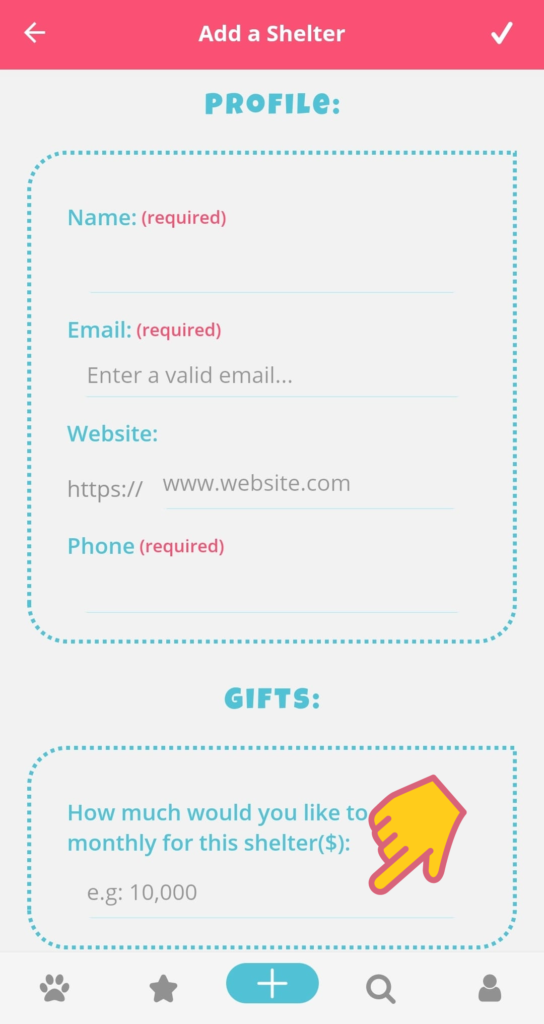
4. Complete the form and save
Try to fill out all the information so other users can find your shelter or rescue easily.
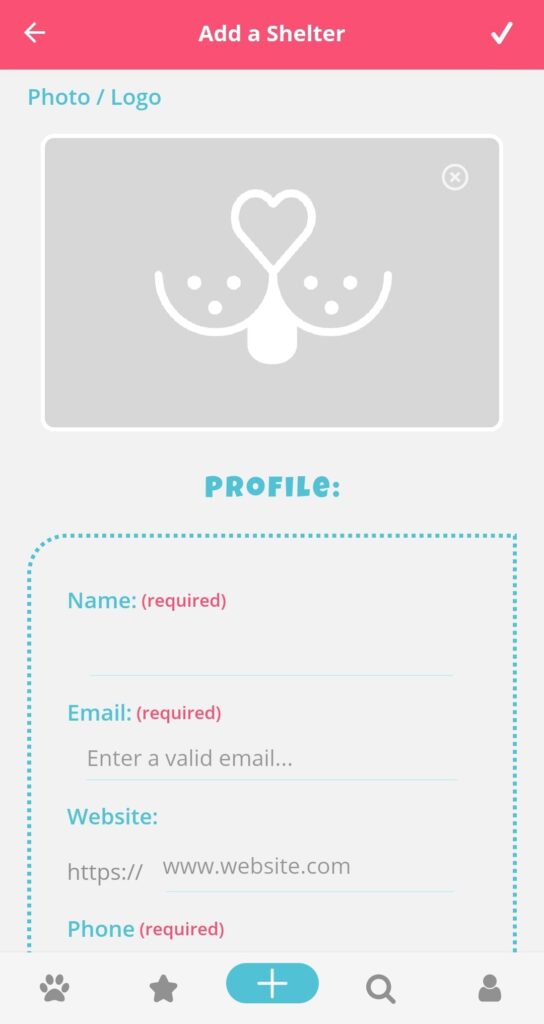
Don’t forget to inform an estimated amount you need to raise monthly to cover the shelter’s expenses.
If this field is empty, this profile won’t be able to receive any donations.
Also, donations are limited to the amount you inform here, and cannot be more than $99,999.
Take advantage of the foster and adoption fields to give people a brief explanation of how is the process for adopting or fostering a pet from your shelter.
This information will be shown in every pet profile that has this shelter as its guardian.

Keep in mind:
- To create a shelter or rescue’s profile, you must be its owner or legal representative, as donations will be sent to the banking account you registered in your Stripe account;
- Shelters and rescues can receive up to $99,999 monthly in donations;
- If you don’t set an amount to be raised, the app will understand that your shelter doesn’t need donations.